Step-by-step guide on how to grow a tomato plant in a pot from a seed

In this step-by-step tutorial, we’ll show you how to nurture a tiny tomato seed into a thriving potted plant that will soon provide you with delicious, homegrown tomatoes. From selecting the perfect container sizes and sowing the seeds to transplanting and caring for your growing plant, we’ve got you covered.
Materials Needed:
- Tomato seeds (choose a variety suited for container gardening, like cherry tomatoes or dwarf varieties)
- Small pots for seed starting (or biodegradable seed trays)
- A larger pot (at least 12 inches in diameter with drainage holes)
- Seed-starting mix (light and well-draining)
- Potting soil
- Natural fertilizer ingredients (banana peels, eggshells, coffee grounds)
- Watering can or spray bottle
- Support stake or cage (optional)
Step 1: Starting Your Seeds Indoors
- Begin indoors 6–8 weeks before the last frost date in your area. Tomatoes need warmth, so starting them indoors ensures they get an early head start.
- Fill small pots or seed trays with a light seed-starting mix. Avoid regular potting soil at this stage—it can be too heavy for delicate seeds.
- Plant the seeds about 1/4 inch deep in the soil. Lightly cover them and gently mist the soil with water to moisten it. Don’t overwater—just ensure the soil is damp.
- Place the pots in a warm area (70–80°F is ideal). Once the seeds sprout (usually in 7–14 days), move them to a sunny window or under grow lights, providing at least 12–16 hours of light daily.
- Keep the soil moist but not soggy. Use a spray bottle or gentle watering method to avoid disturbing the seeds.

Step 2: Transplanting into a Larger Pot

- After 4–6 weeks, once seedlings have at least two sets of true leaves, start hardening them off by gradually exposing them to outdoor conditions. Bring them outside for a few hours a day, increasing the time over a week.
- Select a pot that is at least 12 inches wide and deep to give the tomato roots room to grow. Make sure it has drainage holes to prevent root rot.
- Use a high-quality potting mix. Mix in some compost or organic matter to ensure nutrients are available as your tomato grows.
- Plant your seedlings deep—burying up to two-thirds of the stem. Tomatoes develop roots along their stems, and this will encourage a stronger, more resilient plant.
Step 3: Caring for Your Tomato Plant
- Tomatoes in pots dry out more quickly than those in the ground. Keep the soil consistently moist but not waterlogged. Water deeply and at the base of the plant to encourage deep roots.
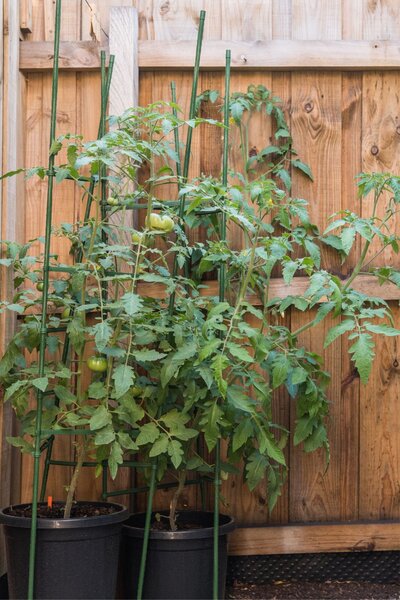
- If growing a larger tomato variety, insert a stake or tomato cage in the pot when transplanting to support the plant as it grows.
- Ensure your plant gets 6–8 hours of sunlight daily. Tomatoes love the sun, so place the pot in the sunniest spot available.
- As the plant grows, remove any “suckers” (small shoots growing between the main stem and branches) to focus the plant’s energy on producing fruit.

Step 4: Natural Fertilizers You Can Make at Home
Eggshell Fertilizer
Eggshells are rich in calcium, which prevents blossom-end rot, a common tomato problem.
How to Make It:
- Collect 6-12 eggshells and crush them into small pieces.
- Pour boiling water over the crushed eggshells in a jar or container.
- Cover and let the mixture sit for 2–3 days. This allows the calcium to fully leach into the water.
- After a few days, strain the eggshells out of the water. (straining is not strictly necessary).
- Use the calcium-rich water to water your tomato plants once a week.
Banana Peel Fertilizer
Banana peels are a great source of potassium, which helps with flowering and fruiting.
How to Make It:
- Chop 2–3 banana peels into small pieces.
- Place the cut-up peels into a jar or container, and pour boiling water over them.
- Cover the jar and let the mixture steep for 2–3 days. This allows the nutrients to fully dissolve into the water.
- After a few days, strain out the banana peels (straining is not strictly necessary).
- Use the nutrient-rich water to water your tomato plants every 1–2 weeks. It will help promote healthy fruiting and overall plant vigor.
Coffee Grounds
Coffee grounds add nitrogen to the soil and help with drainage and aeration. If you notice yellowing leaves (a sign of nitrogen deficiency), you can increase the frequency slightly. If the plant looks healthy and vigorous, maintain the 2–4 week interval.
How to Use:
- Collect used coffee grounds and let them dry out.
- Sprinkle a thin layer of dried coffee grounds on top of the soil or mix them into the soil around the base of the plant. This provides a gradual release of nitrogen, which helps support healthy leaf growth.
- Avoid applying too much at once, as excessive coffee grounds can compact the soil, reducing water and air circulation.
- If you notice yellowing leaves (a sign of nitrogen deficiency), you can increase the frequency slightly. If the plant looks healthy maintain the 2–4 week interval.
Step 5: Harvesting
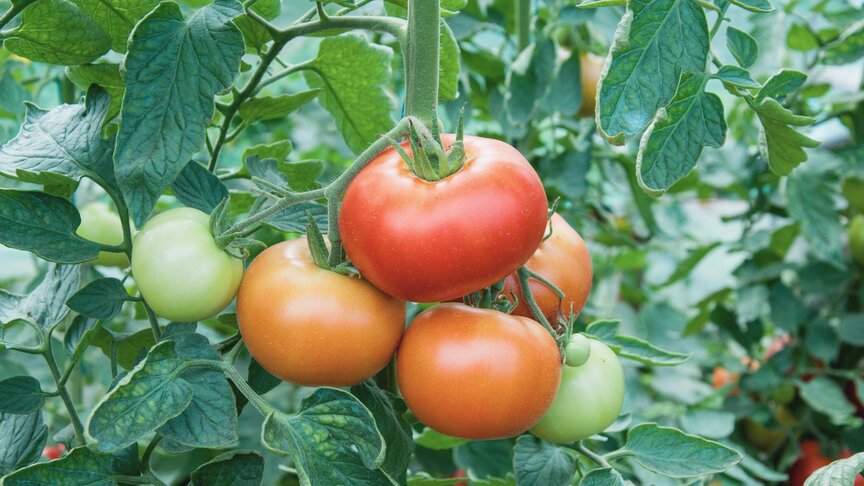
- Most tomato varieties are ready to harvest in 60–85 days from transplanting. Look for fully colored, firm tomatoes.
- Harvest Gently. Use scissors or pruners to snip the tomatoes off, or gently twist them off the vine.

Bonus Tips
- Companion Planting: Plant basil or marigolds near your tomatoes. Basil can enhance the flavor, and marigolds deter pests.
- Mulching: Add mulch (straw, grass clippings) around the base of your plant to retain moisture and reduce weeds.
- Bottom Watering: Fill a saucer under the pot with water so the plant absorbs water from below, encouraging deep root growth.
With these tips, you can enjoy a healthy, productive tomato plant right on your patio or balcony. Happy gardening!


